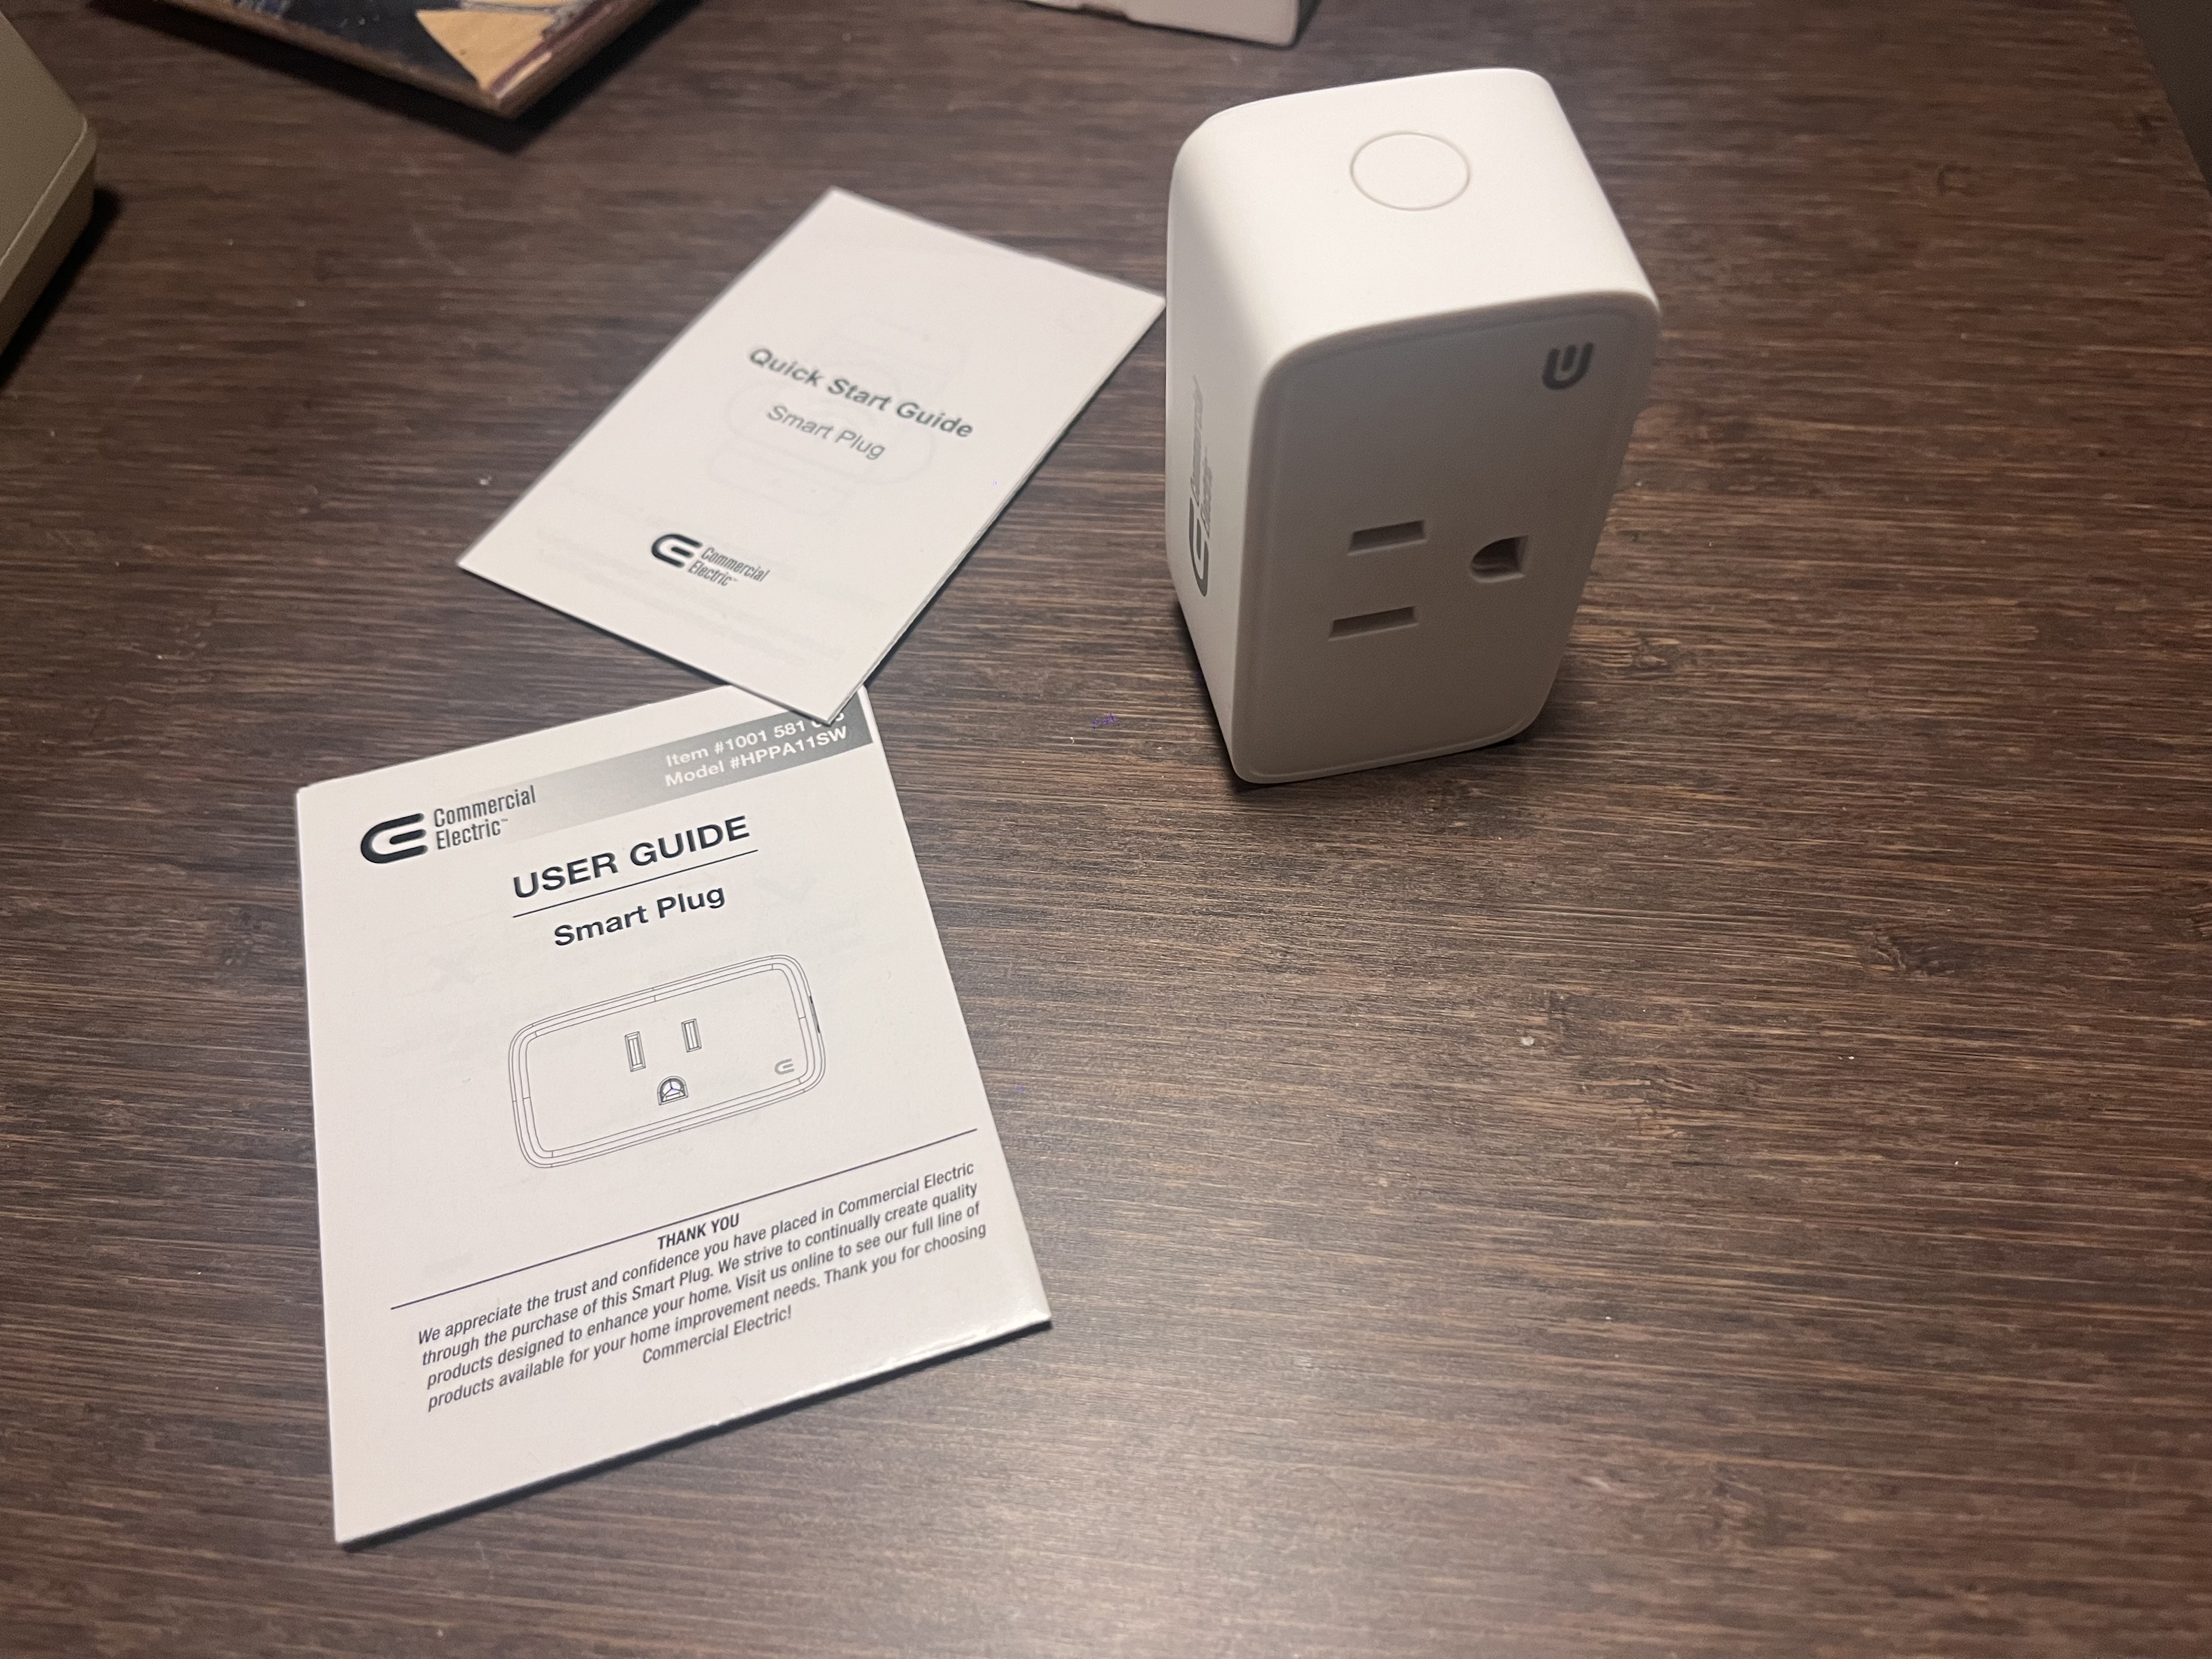
I came across a super cheap smart plug from Canadian Tire and wondered if I could control it with my beloved Home Assistant. After parting with $9 CAD I intended to find out.
I already have a few smart devices in the house including many Wiz lights that have been fairly reliable and have an existing integration in Home Assistant that offers almost all of the functionality of the Wiz app, without all the upsells, and marketing telemetry (assuming you also block the devices phoning home on your network).
While this device does have an app, the reviews didn’t look promising and there was no existing work I could find on reverse engineering their API for integration to Home Assistant.
Rather then burn the time trying to reverse engineer this particular API for this particular device, I wondered if there might be another way to more generically integrate these low cost, low app effort, devices into the Home Assistant ecosystem.
Many consumer smart devices are based on the widely available, network connected, microcontroller line ESP32. These are low cost, all in one devices to integrate sensors, buttons, lights, and all sorts of devices to a low power computer with bluetooth and wifi, that is updatable and programmable in a variety of languages, with fairly vibrant developer community.
So the goal was to open the device, get access to the microcontroller (that was hopefully an ESP32), and flash the device firsmware with an ESPHome custom firmware that can be controlled via Home Assistant.
Physical Access
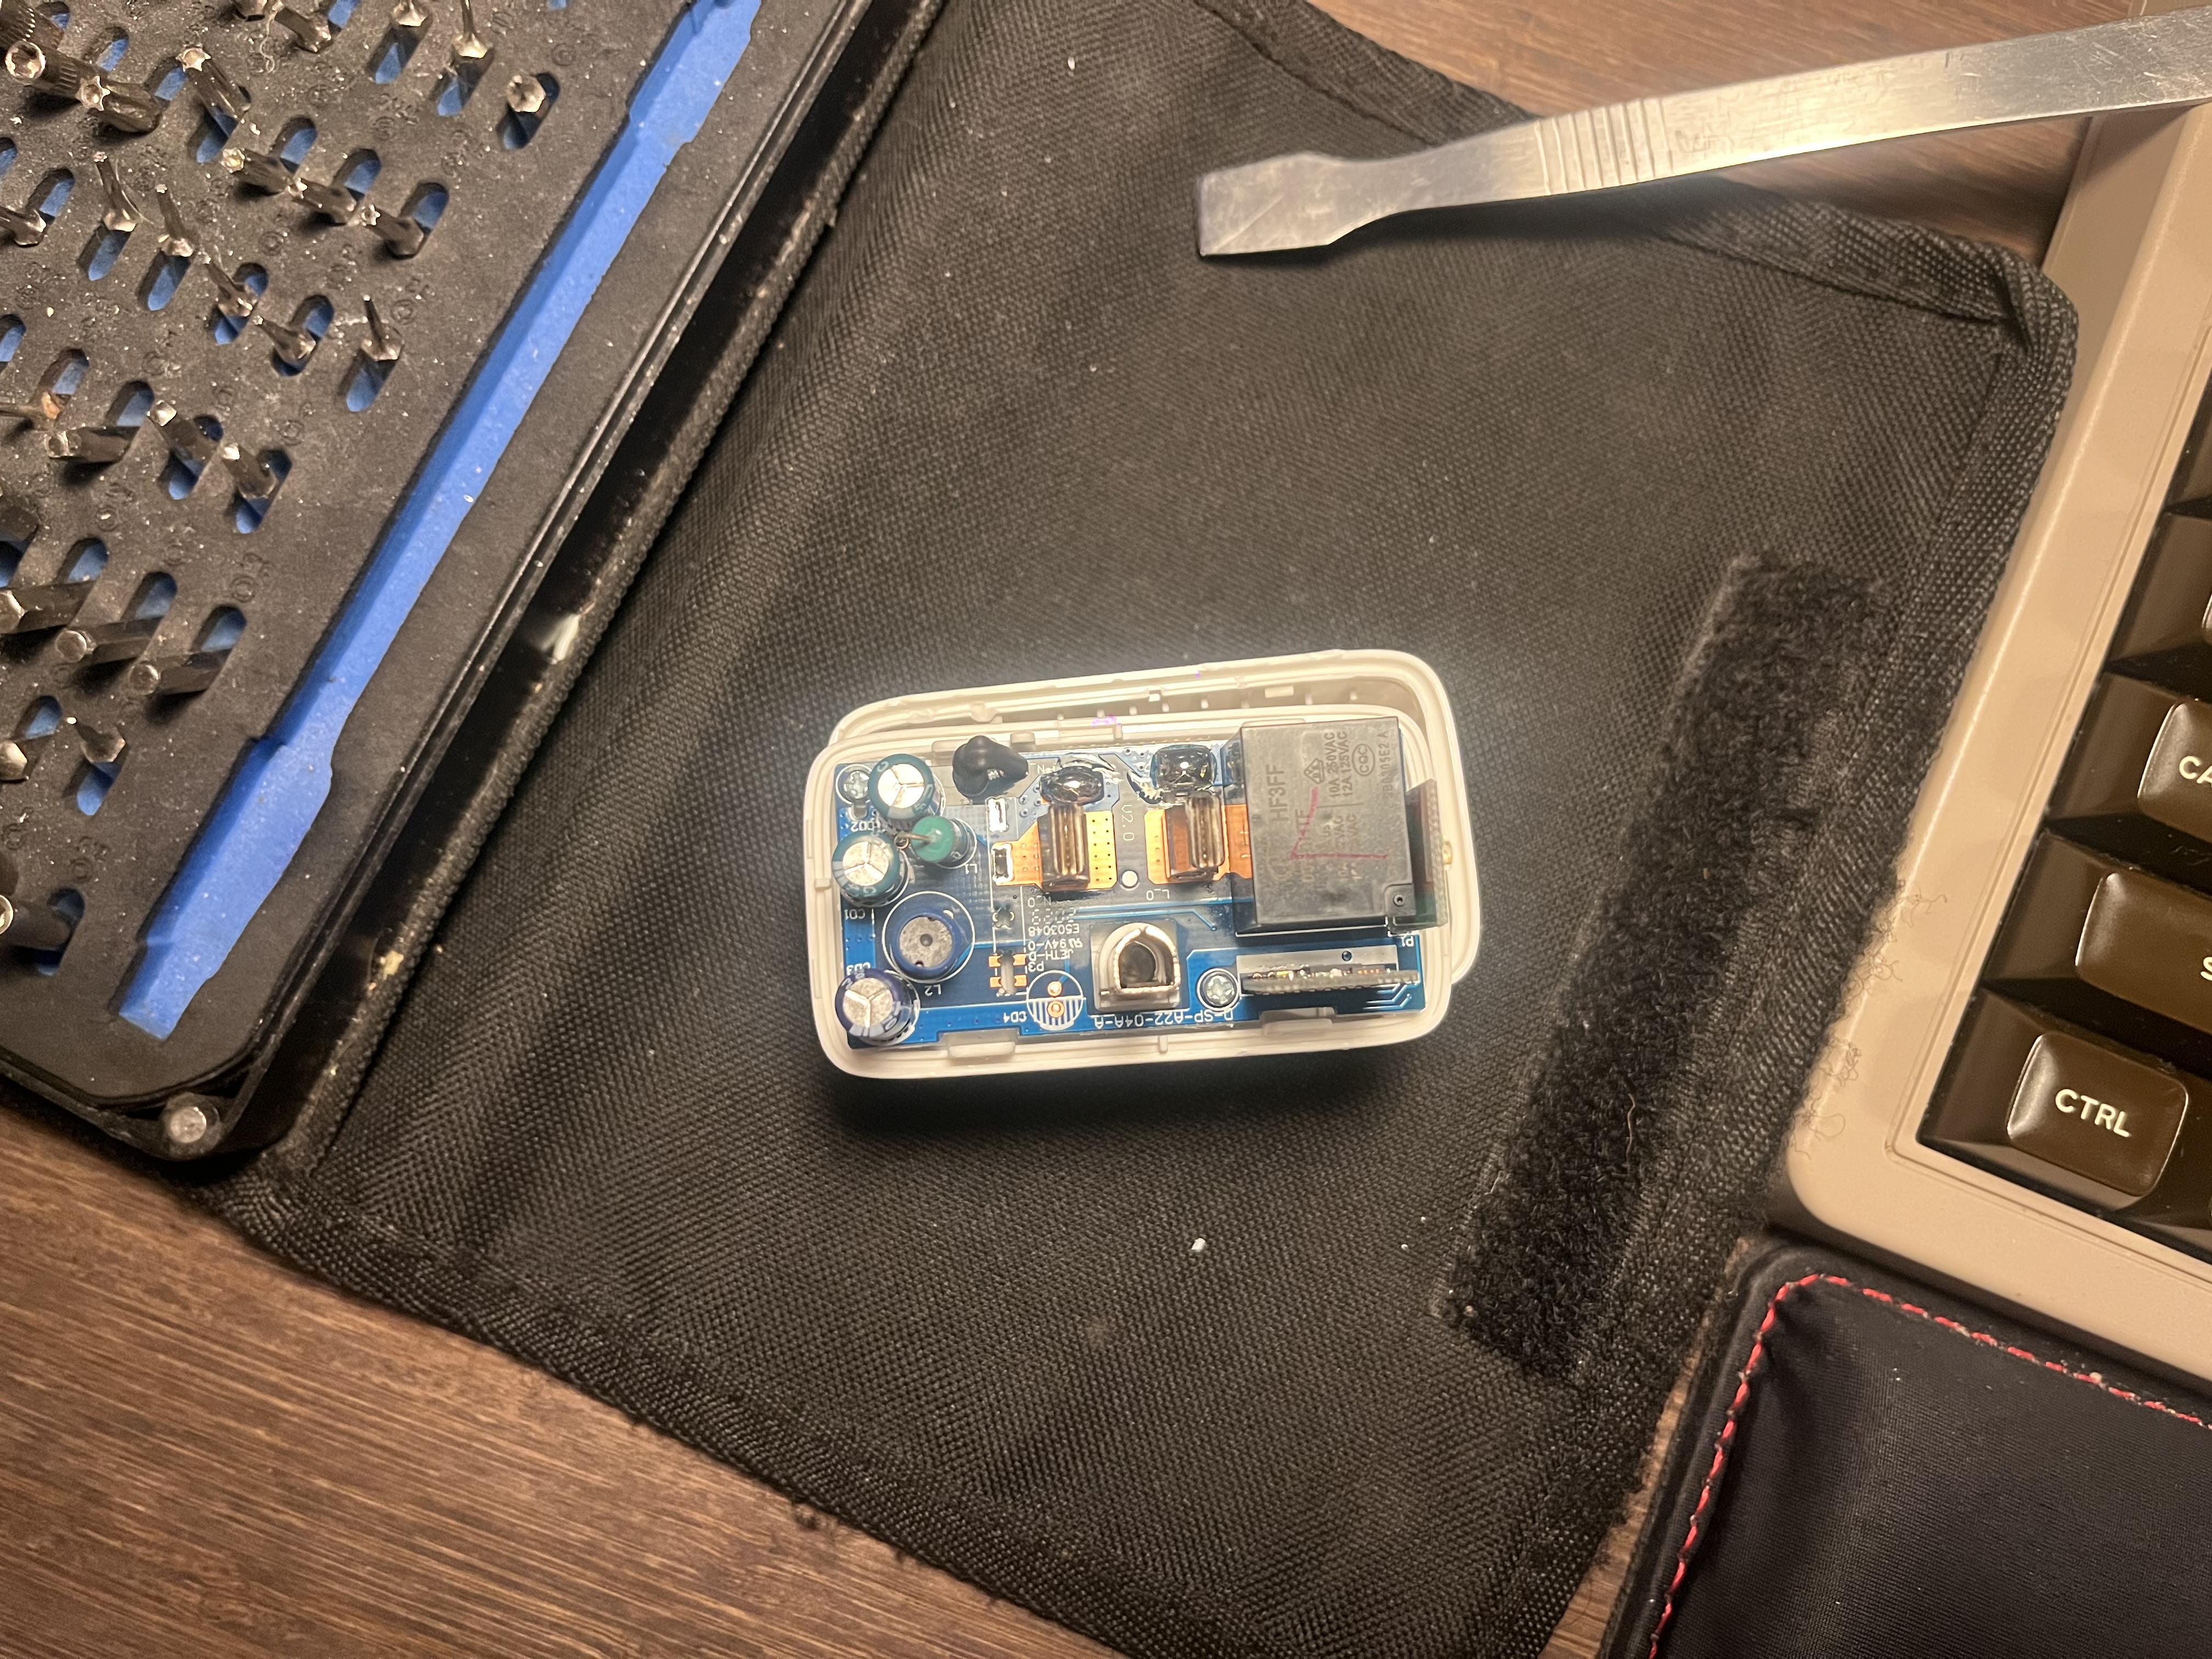
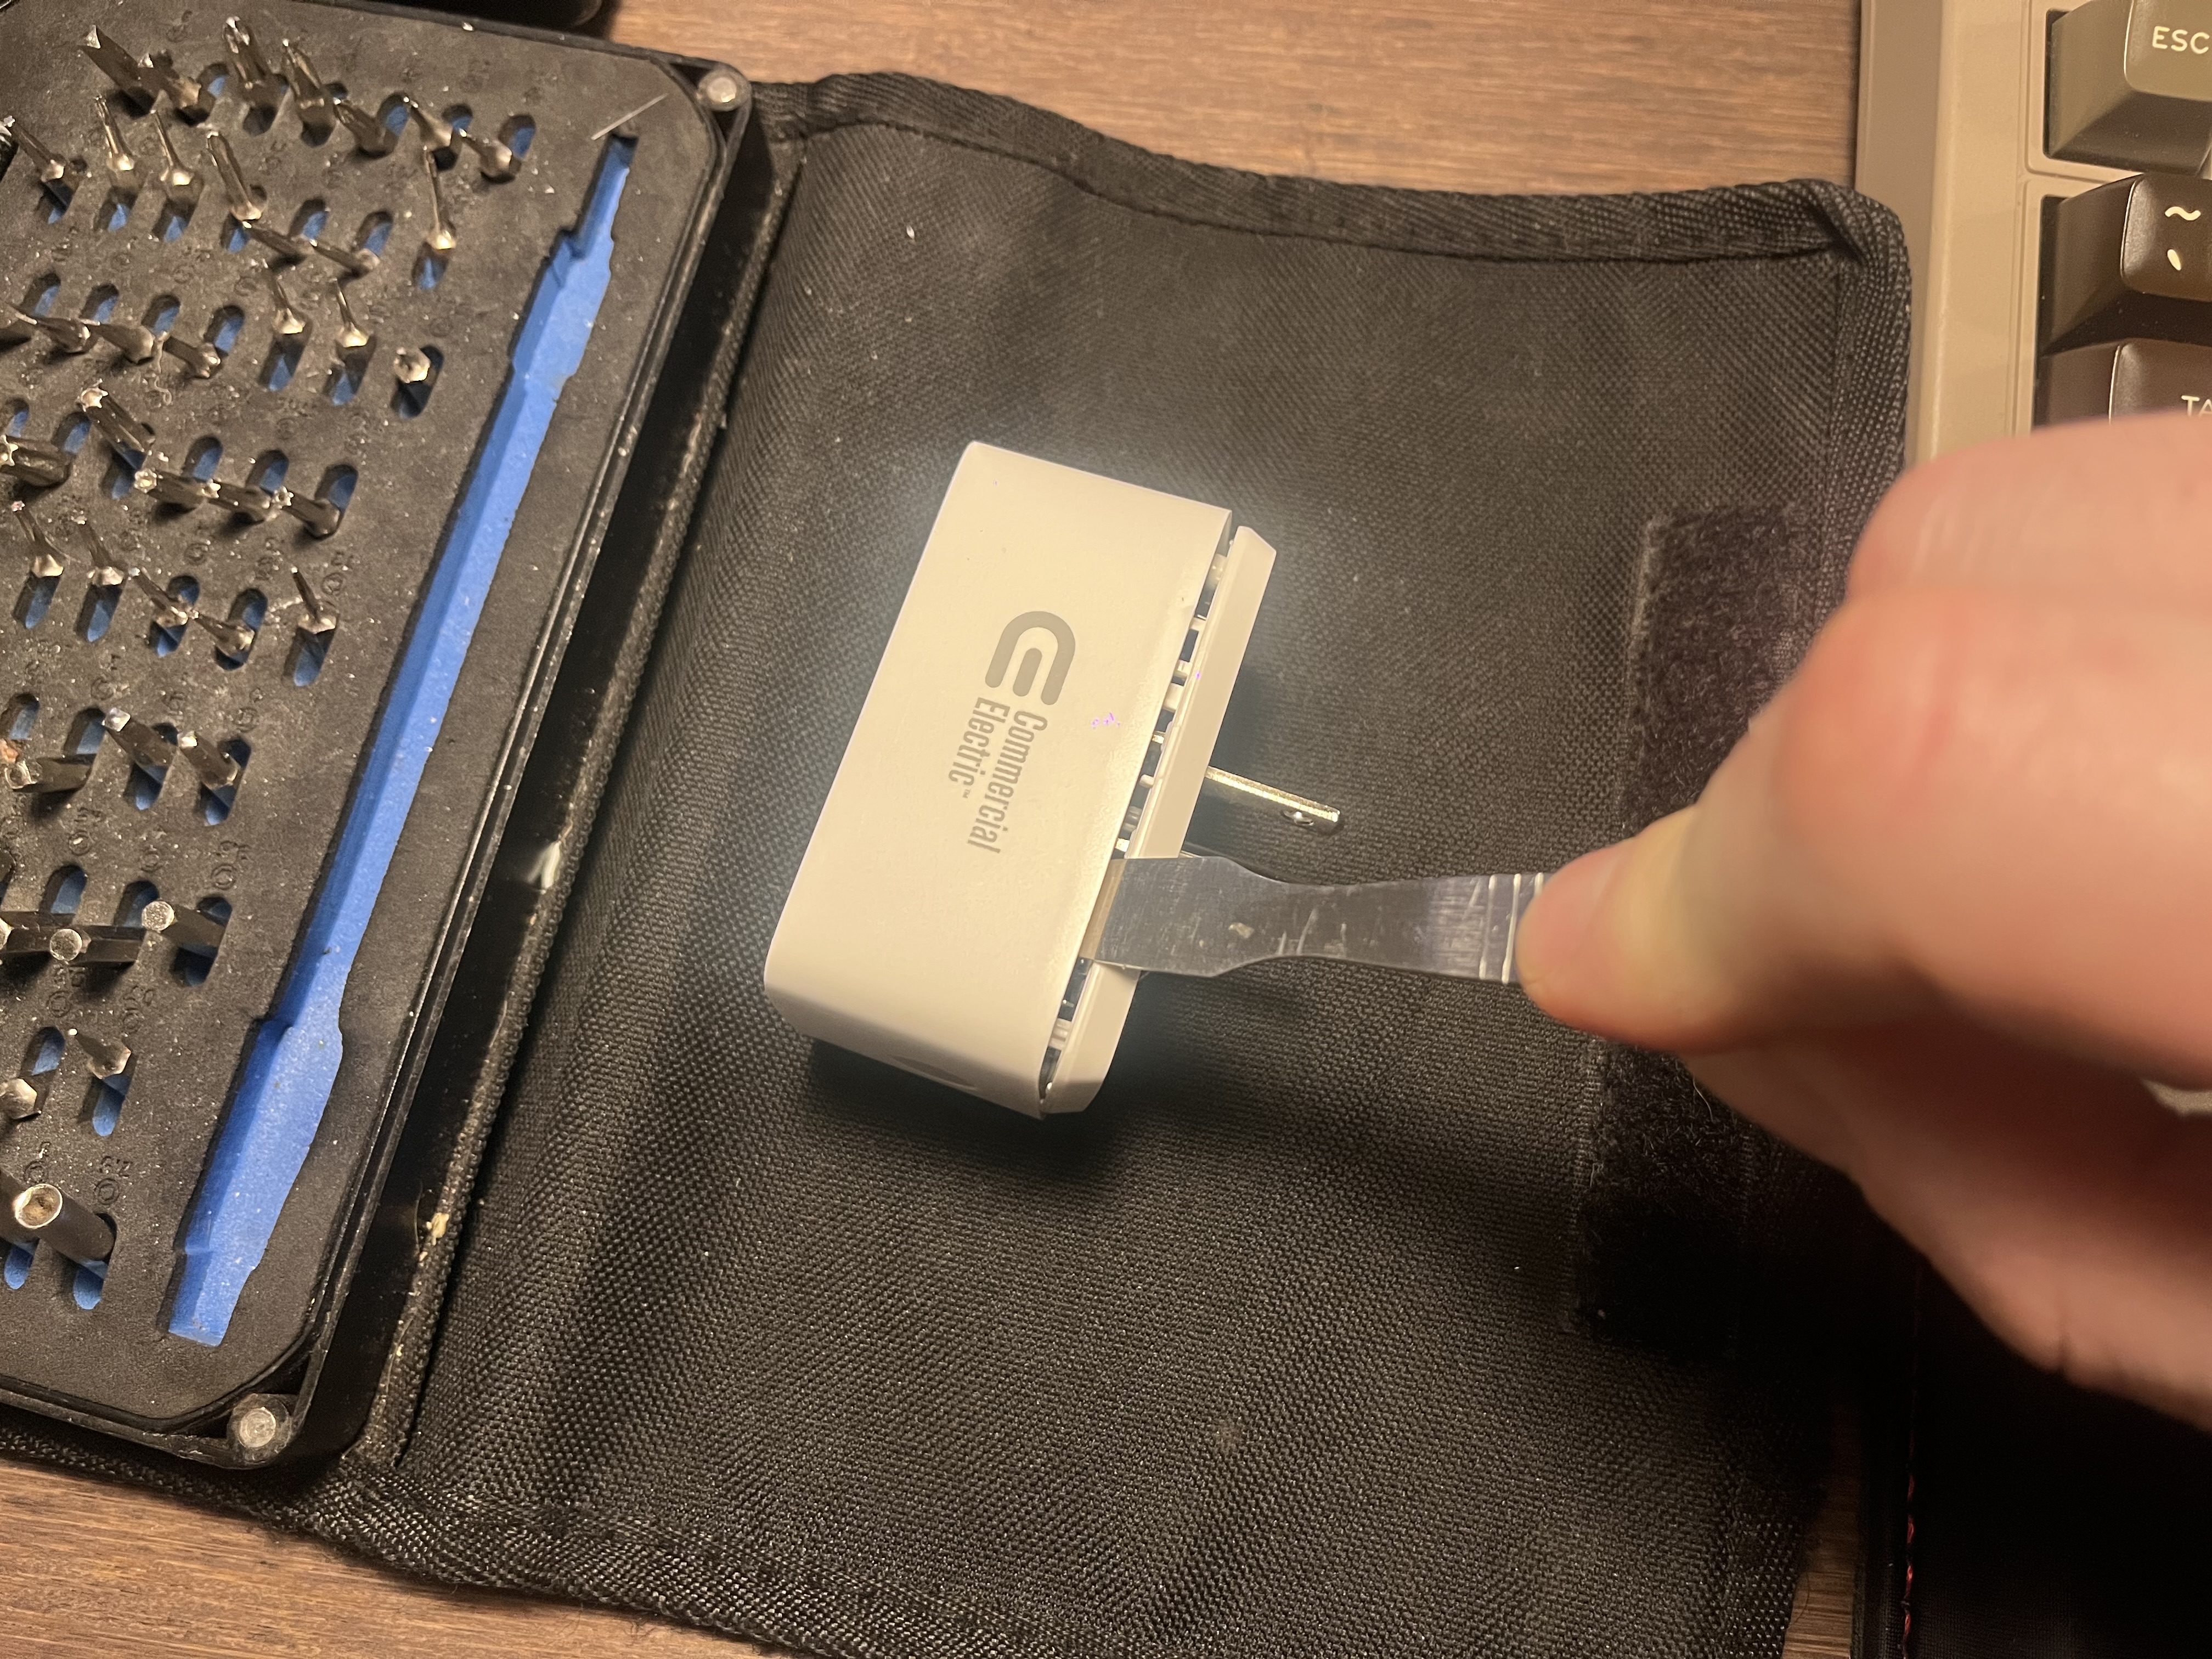
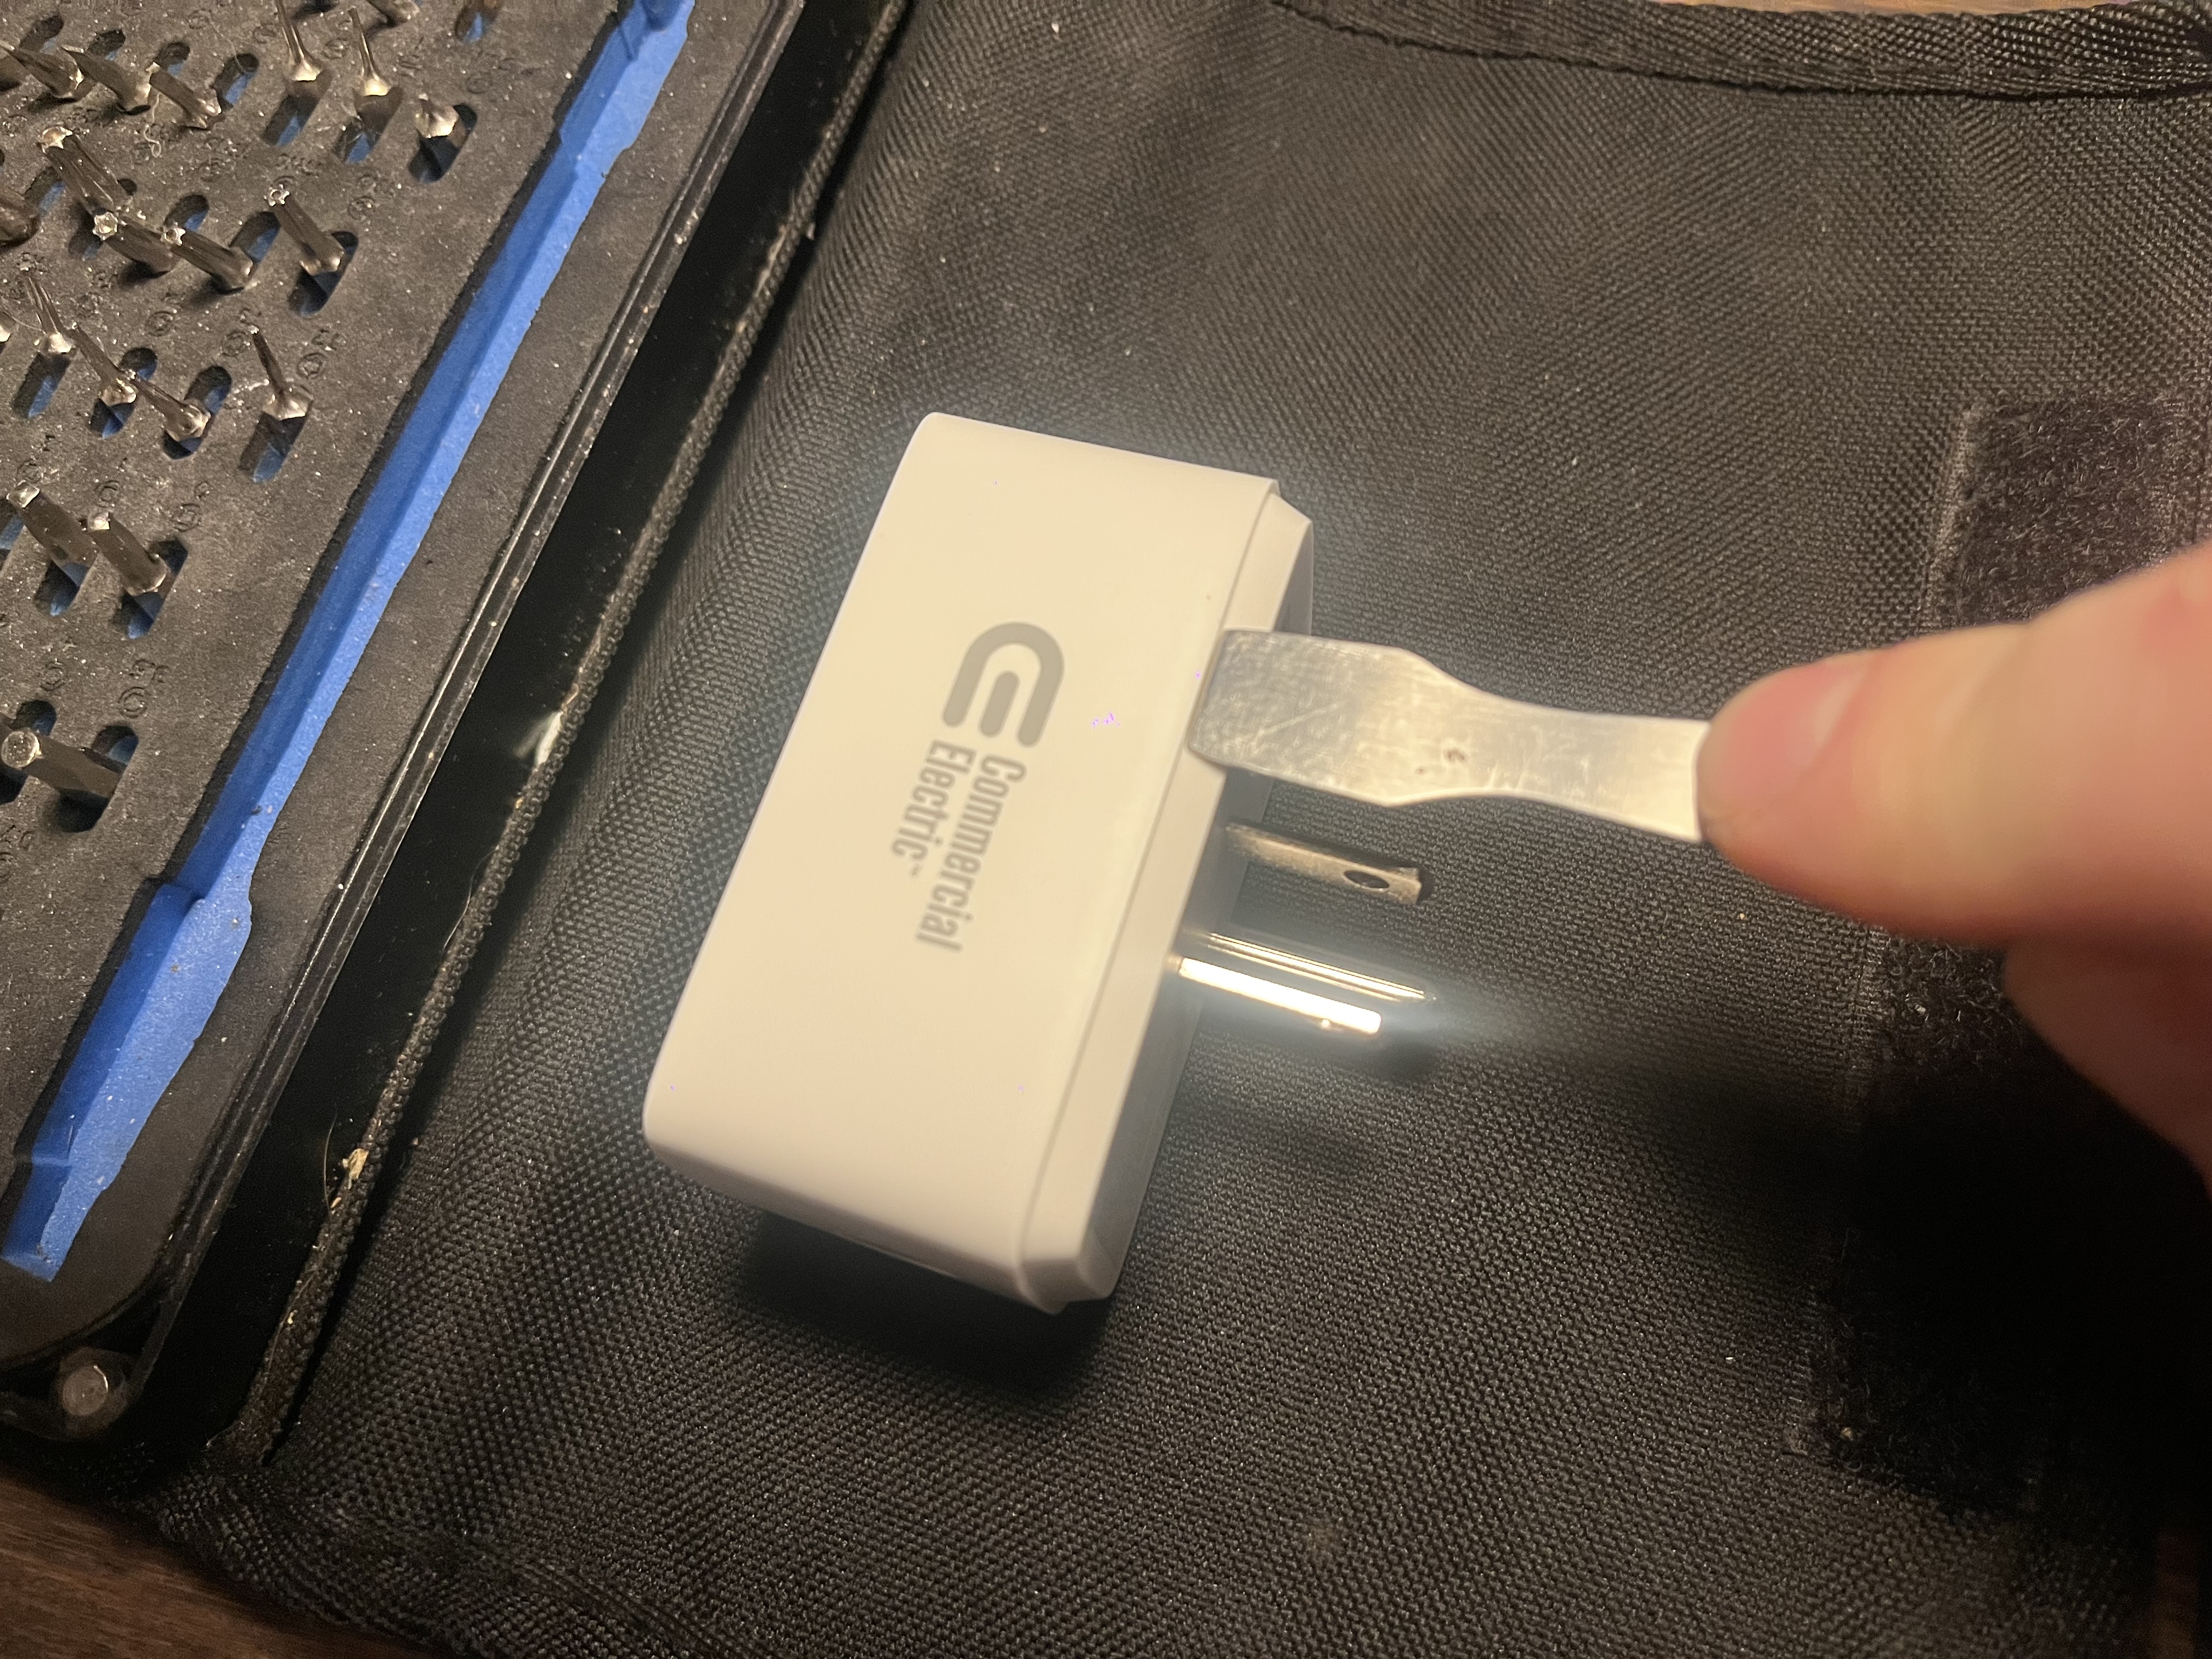
The CE SP1 was luckily quite easy to pry open using a metal spudger. The case is held together with 4 plastic clips built in to the housing. By carefully prying between the upper and lower part of the case, I was able to separate the two parts without breaking the clips (essential for re-assembly).
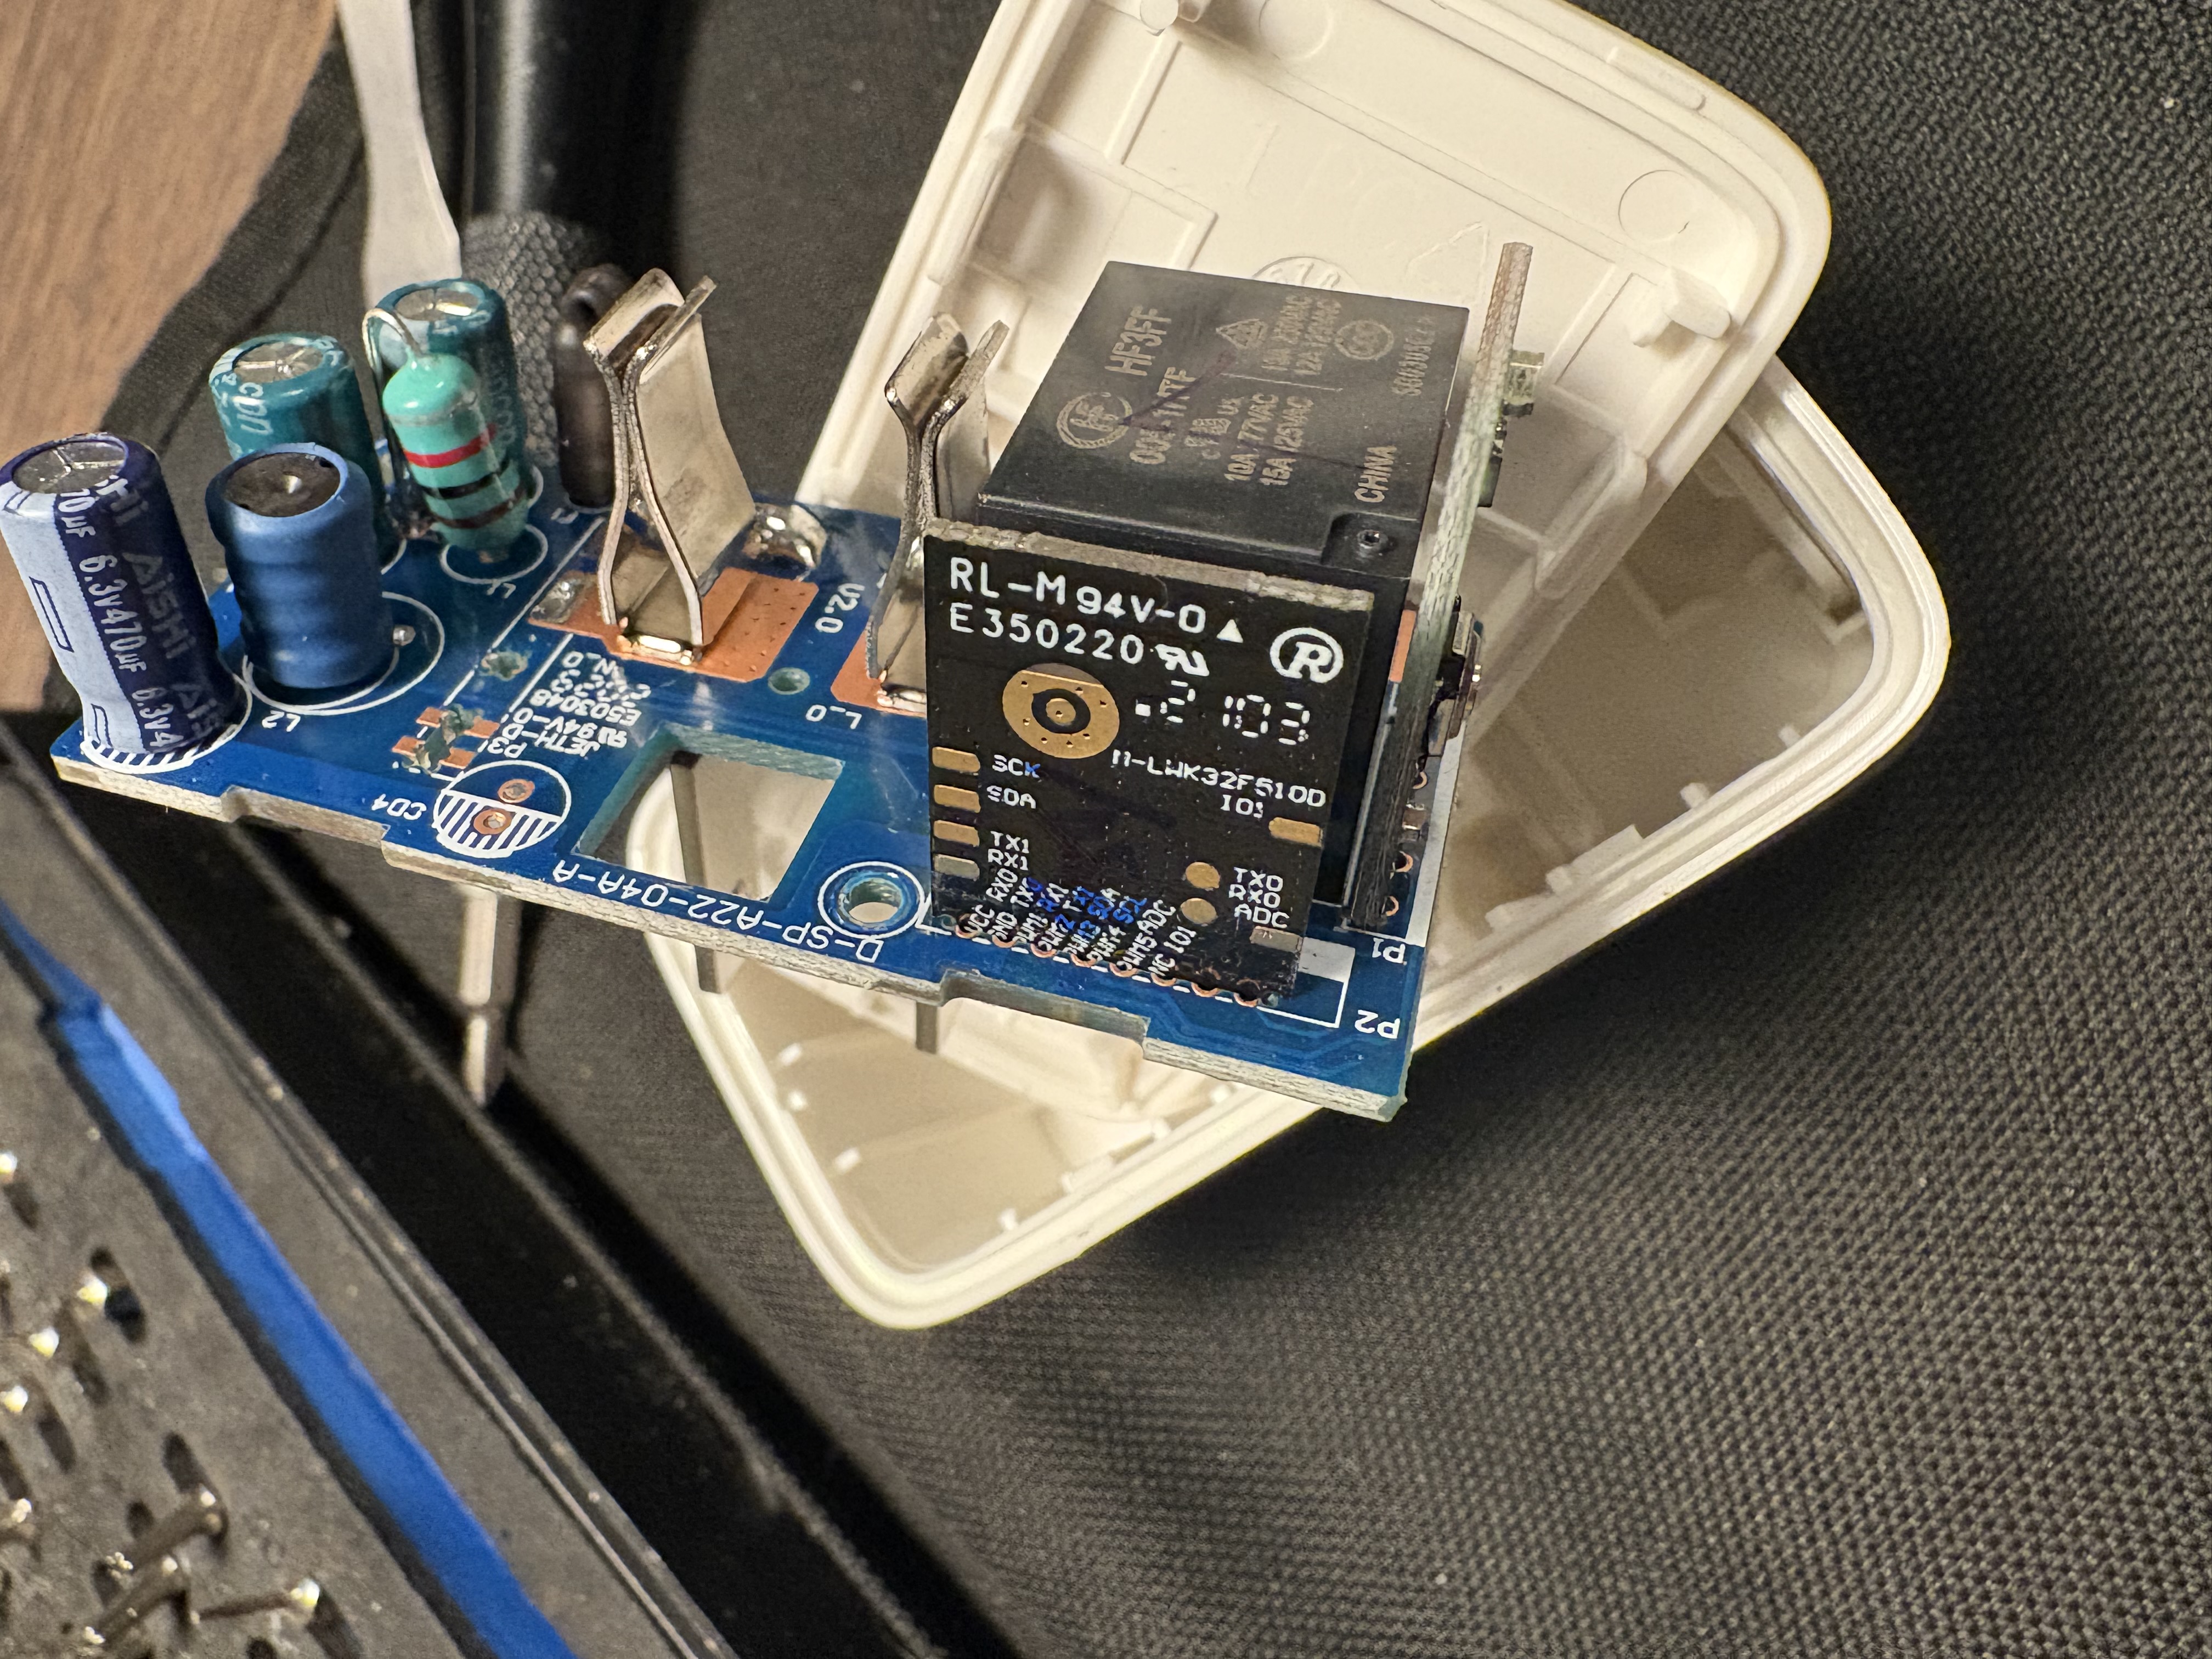
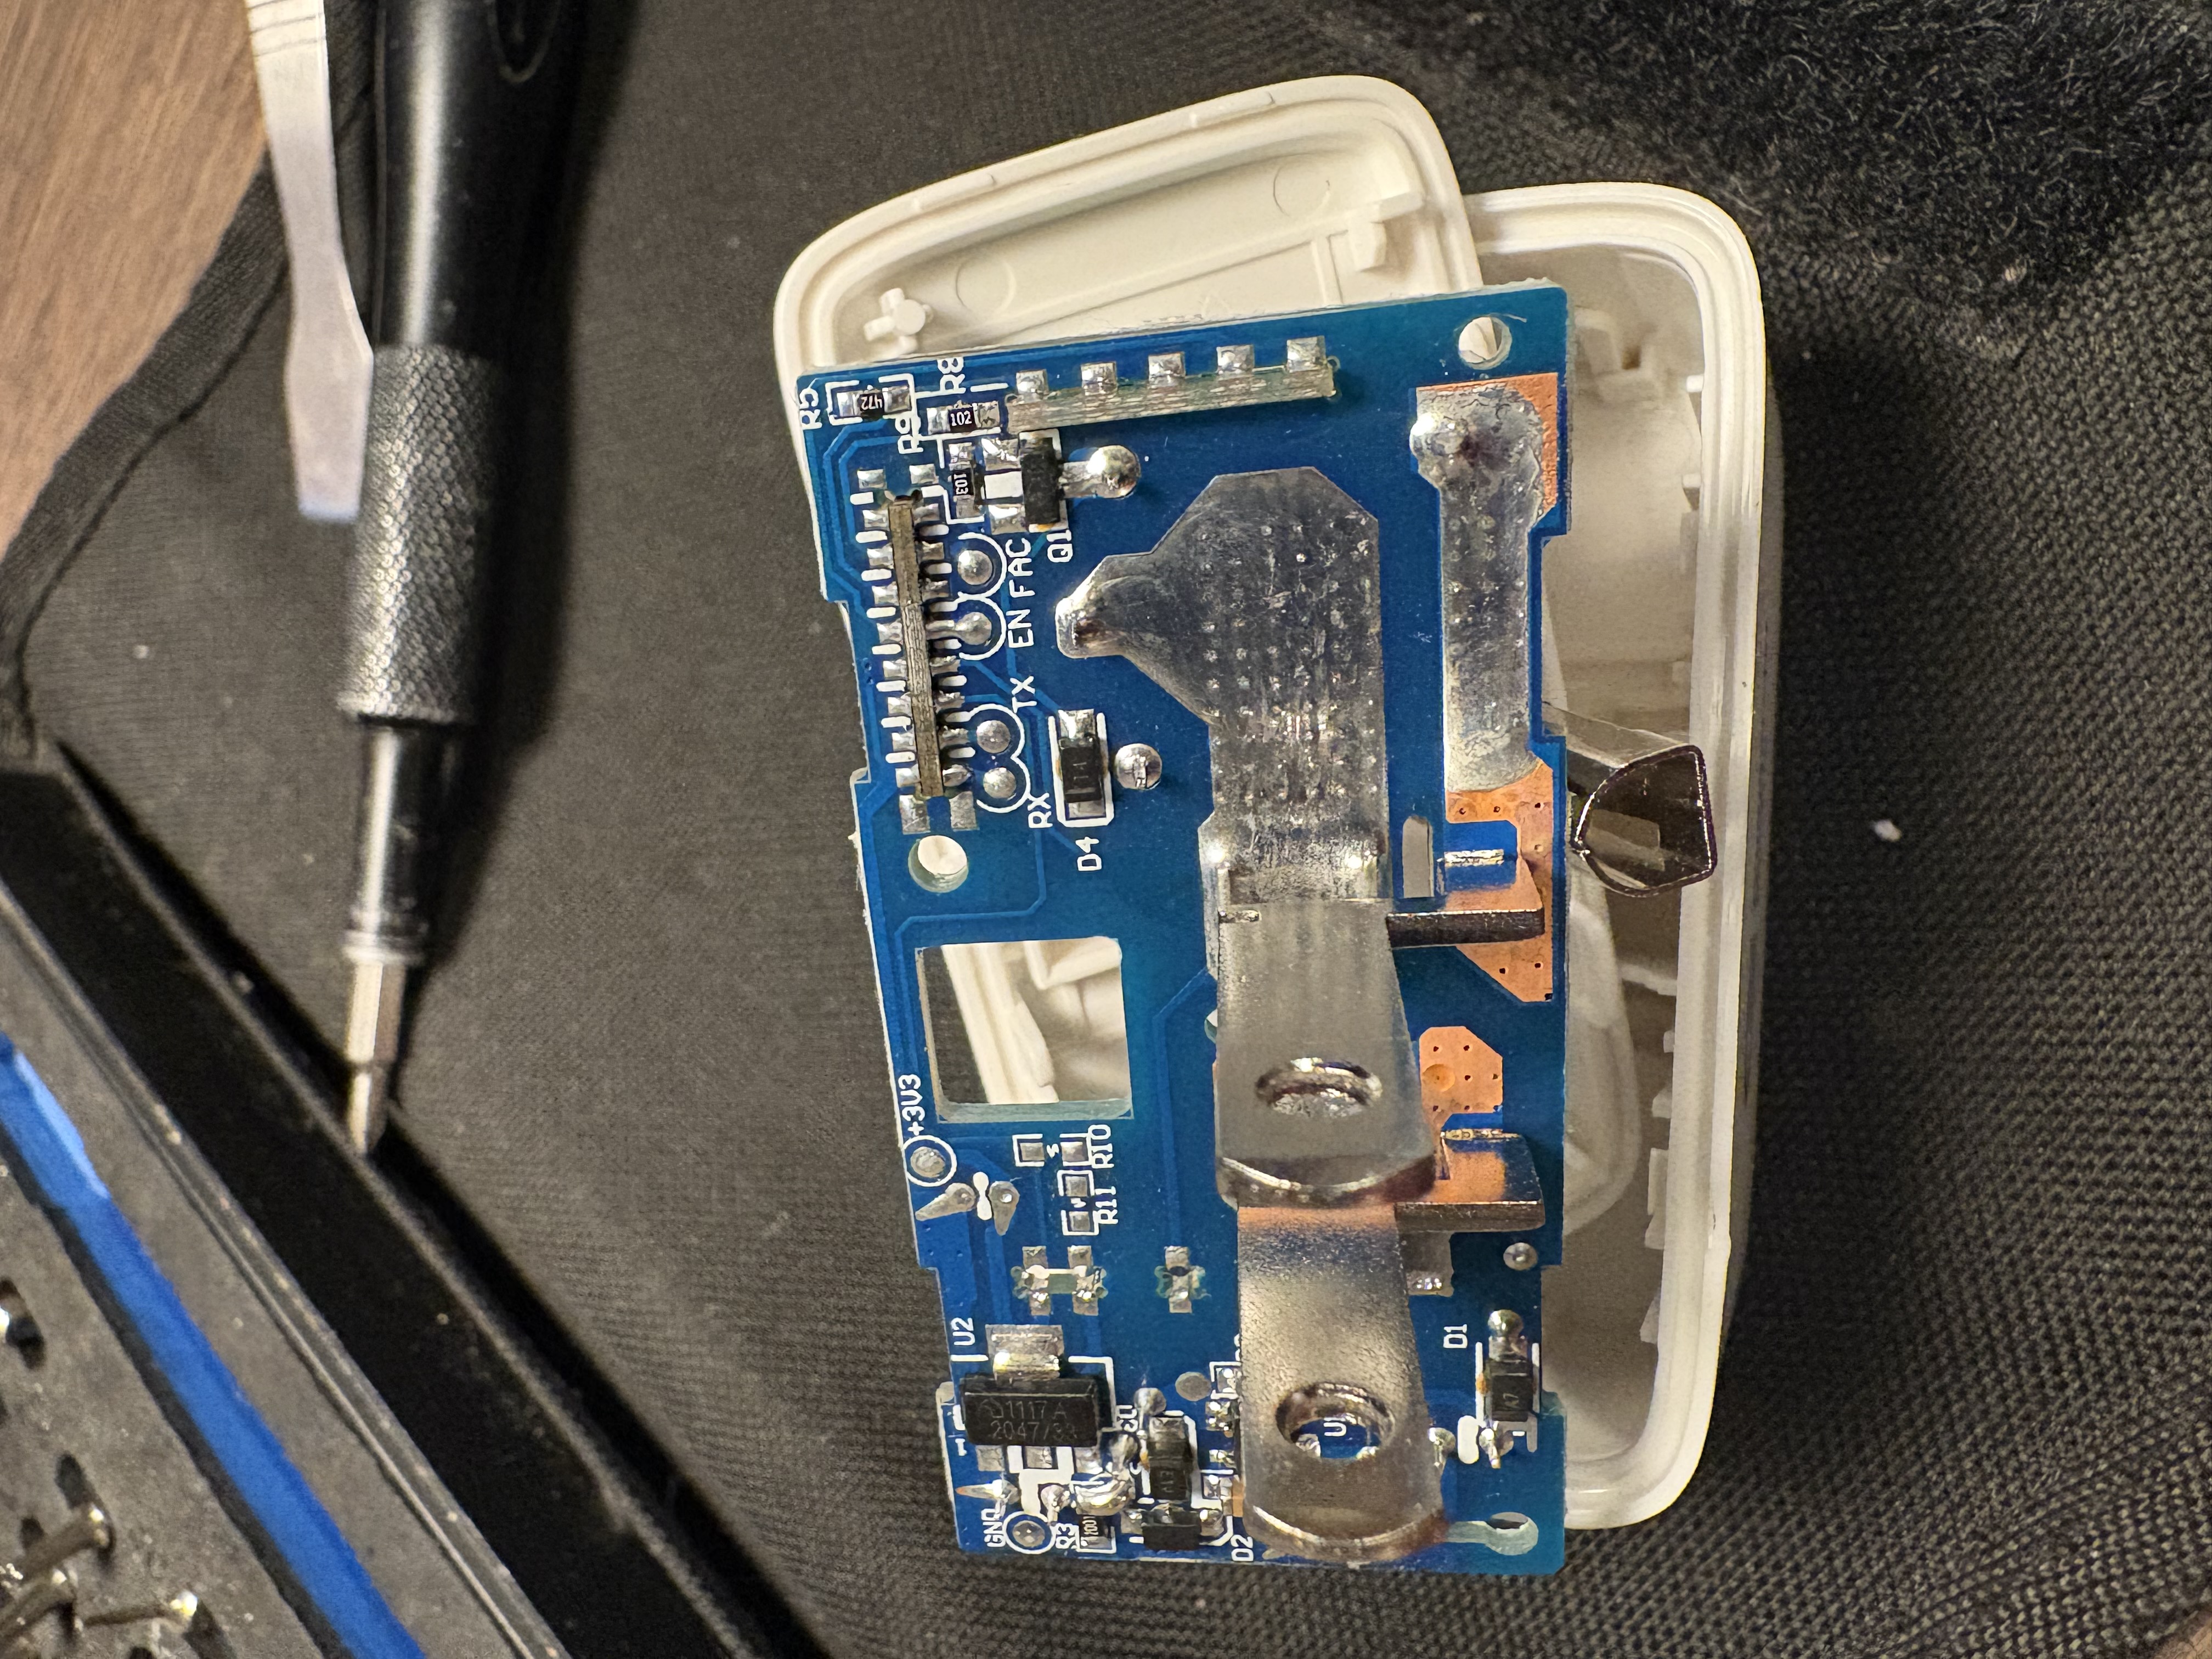
I couldn’t get a good look at the microcontroller markings, so I desoldered the board and identified it as a Realtek RTL8710BX (not an ESP32 😱). Surprised but undeterred, I searched online to first find a github repo, the device fcc application and eventually came across a nice writeup of the disassembly and firmware overwrite process I was attempting for a similar device Archive (quite a head start).
The author of the blog post noted that the Realtek board is supported in ESPHome via the libretiny project Archive. So I connected up the board to my probing station and attempted to make a serial connection to the microcontroller.
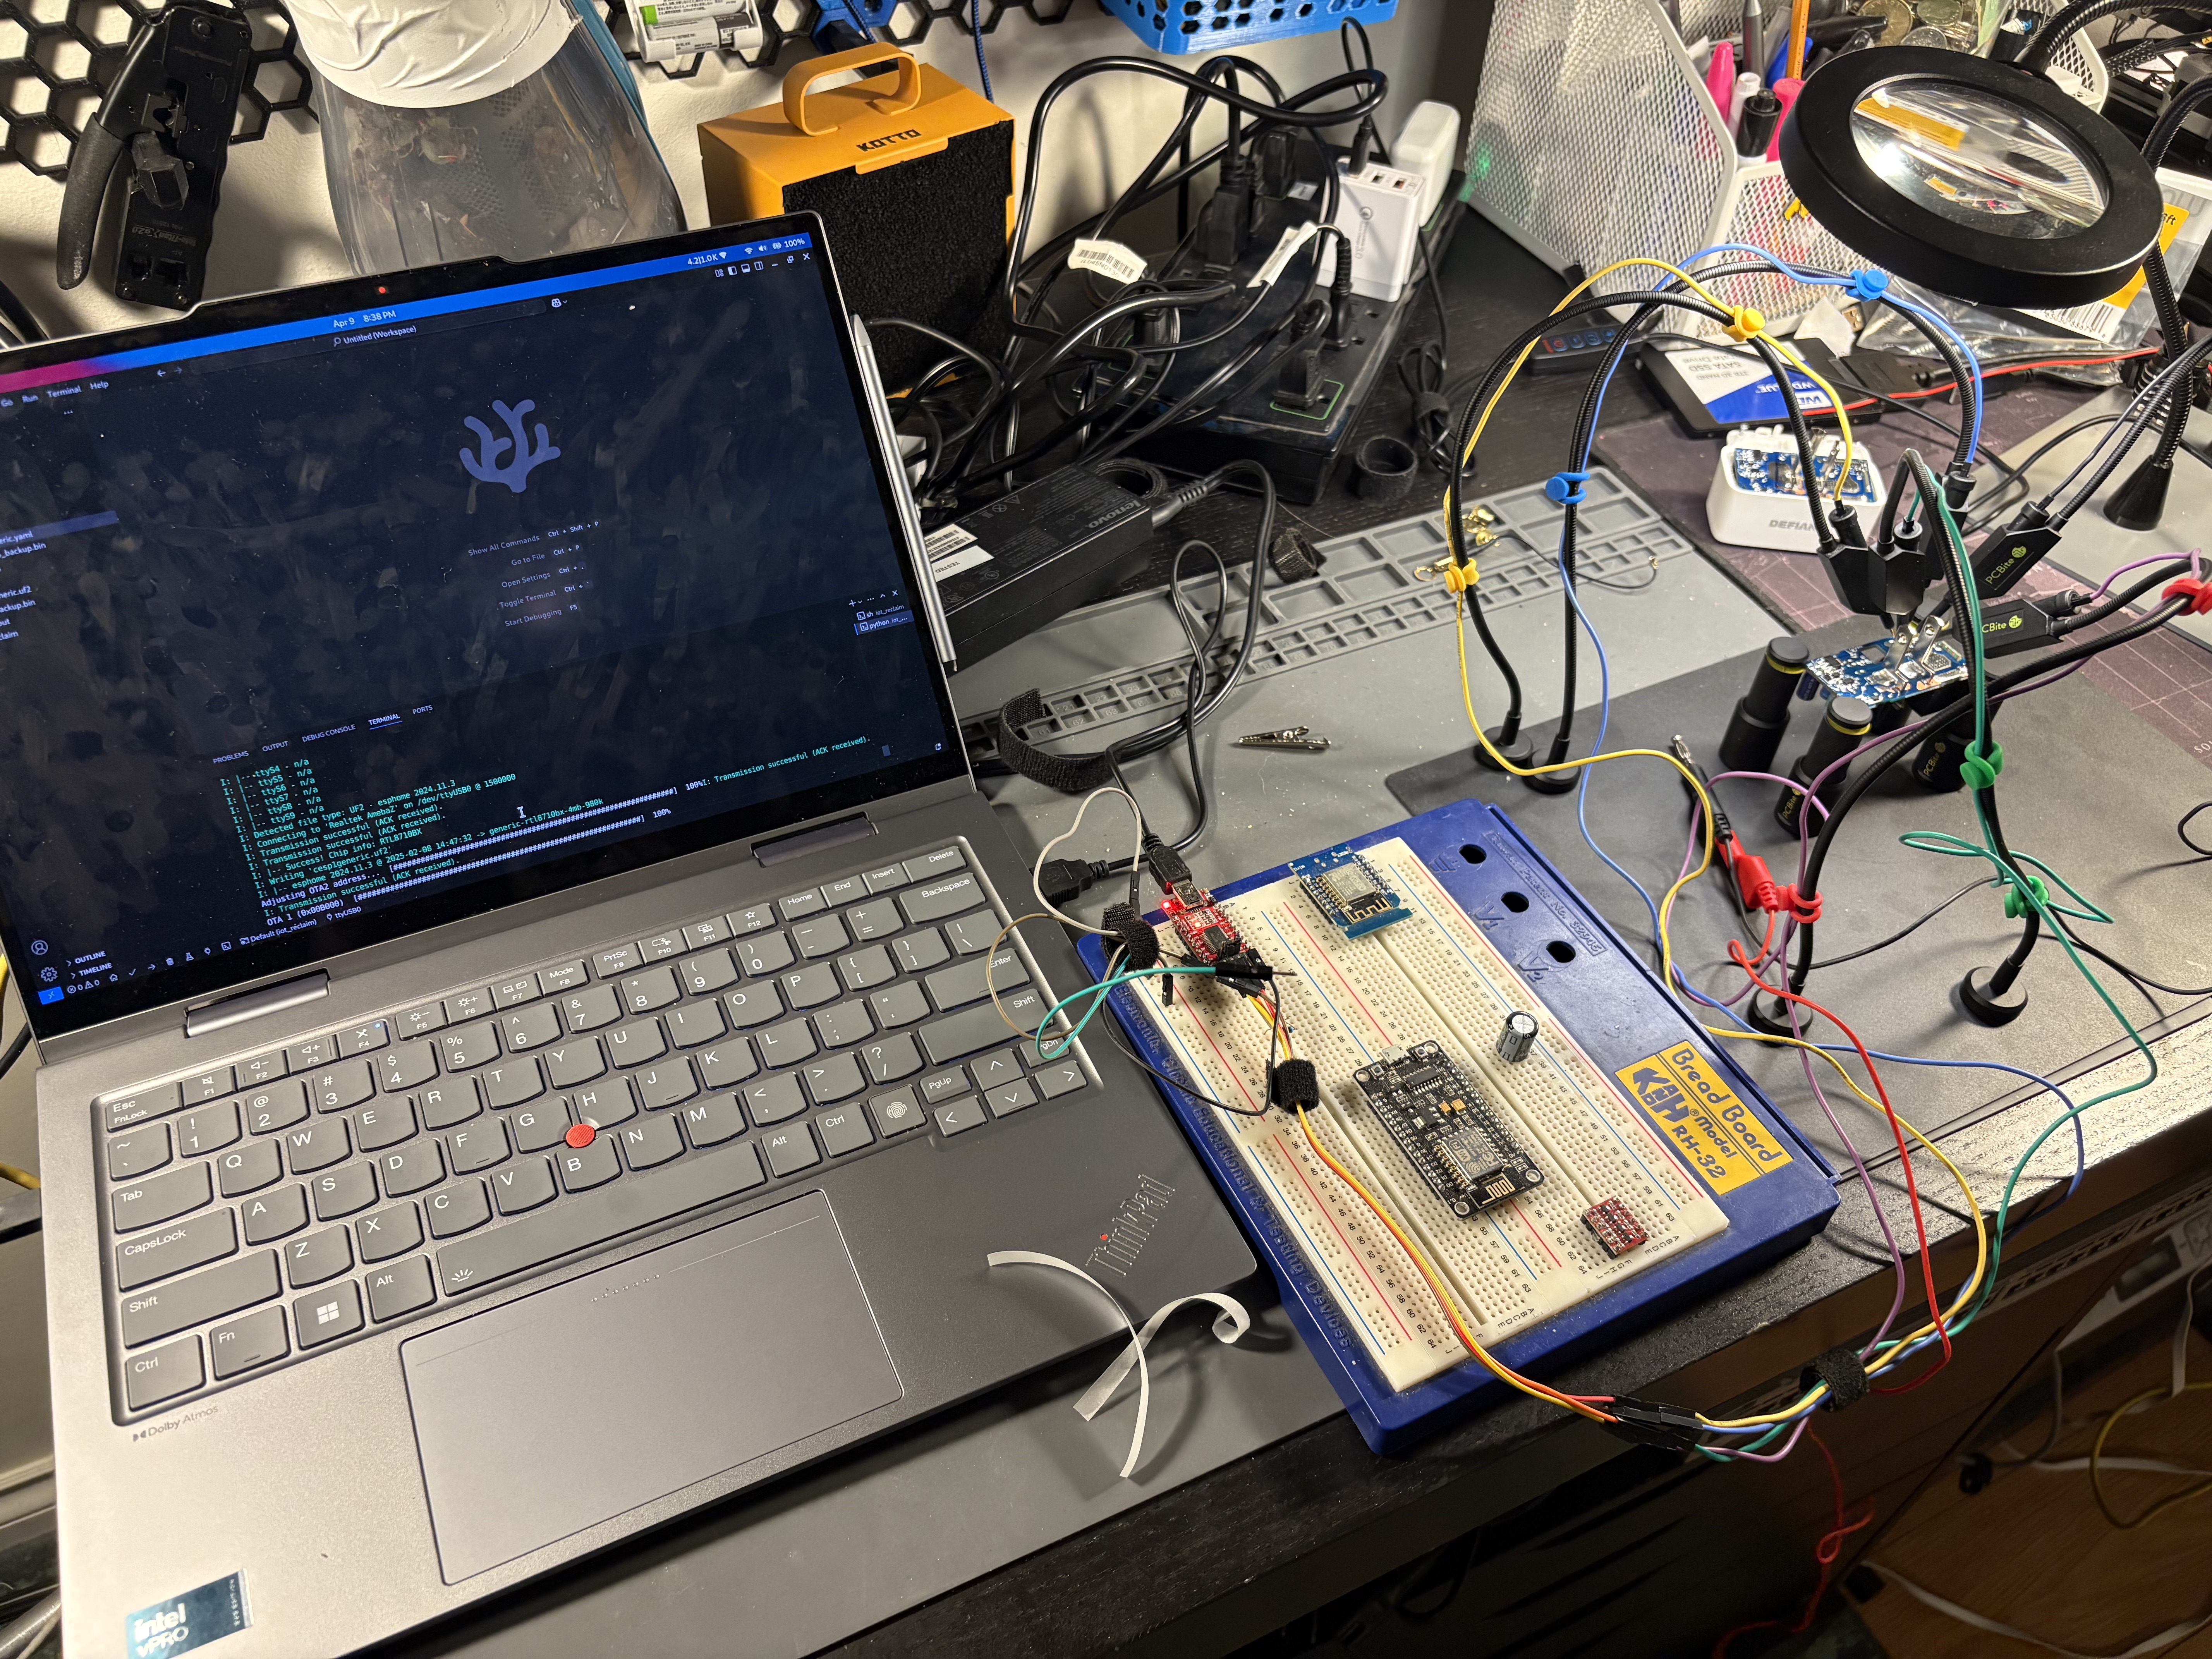
The Tuya smart plug writeup noted that it’s possible to dump and flash firmware to this microcontroller using a UART device. Luckily I have a Tigard which among many other things has UART, so I connected it up as follows:
| Tigard | RTL8710BX |
|---|---|
| VTGT | VCC |
| GND | GND |
| TX | RX0 |
| RX | TX0 |
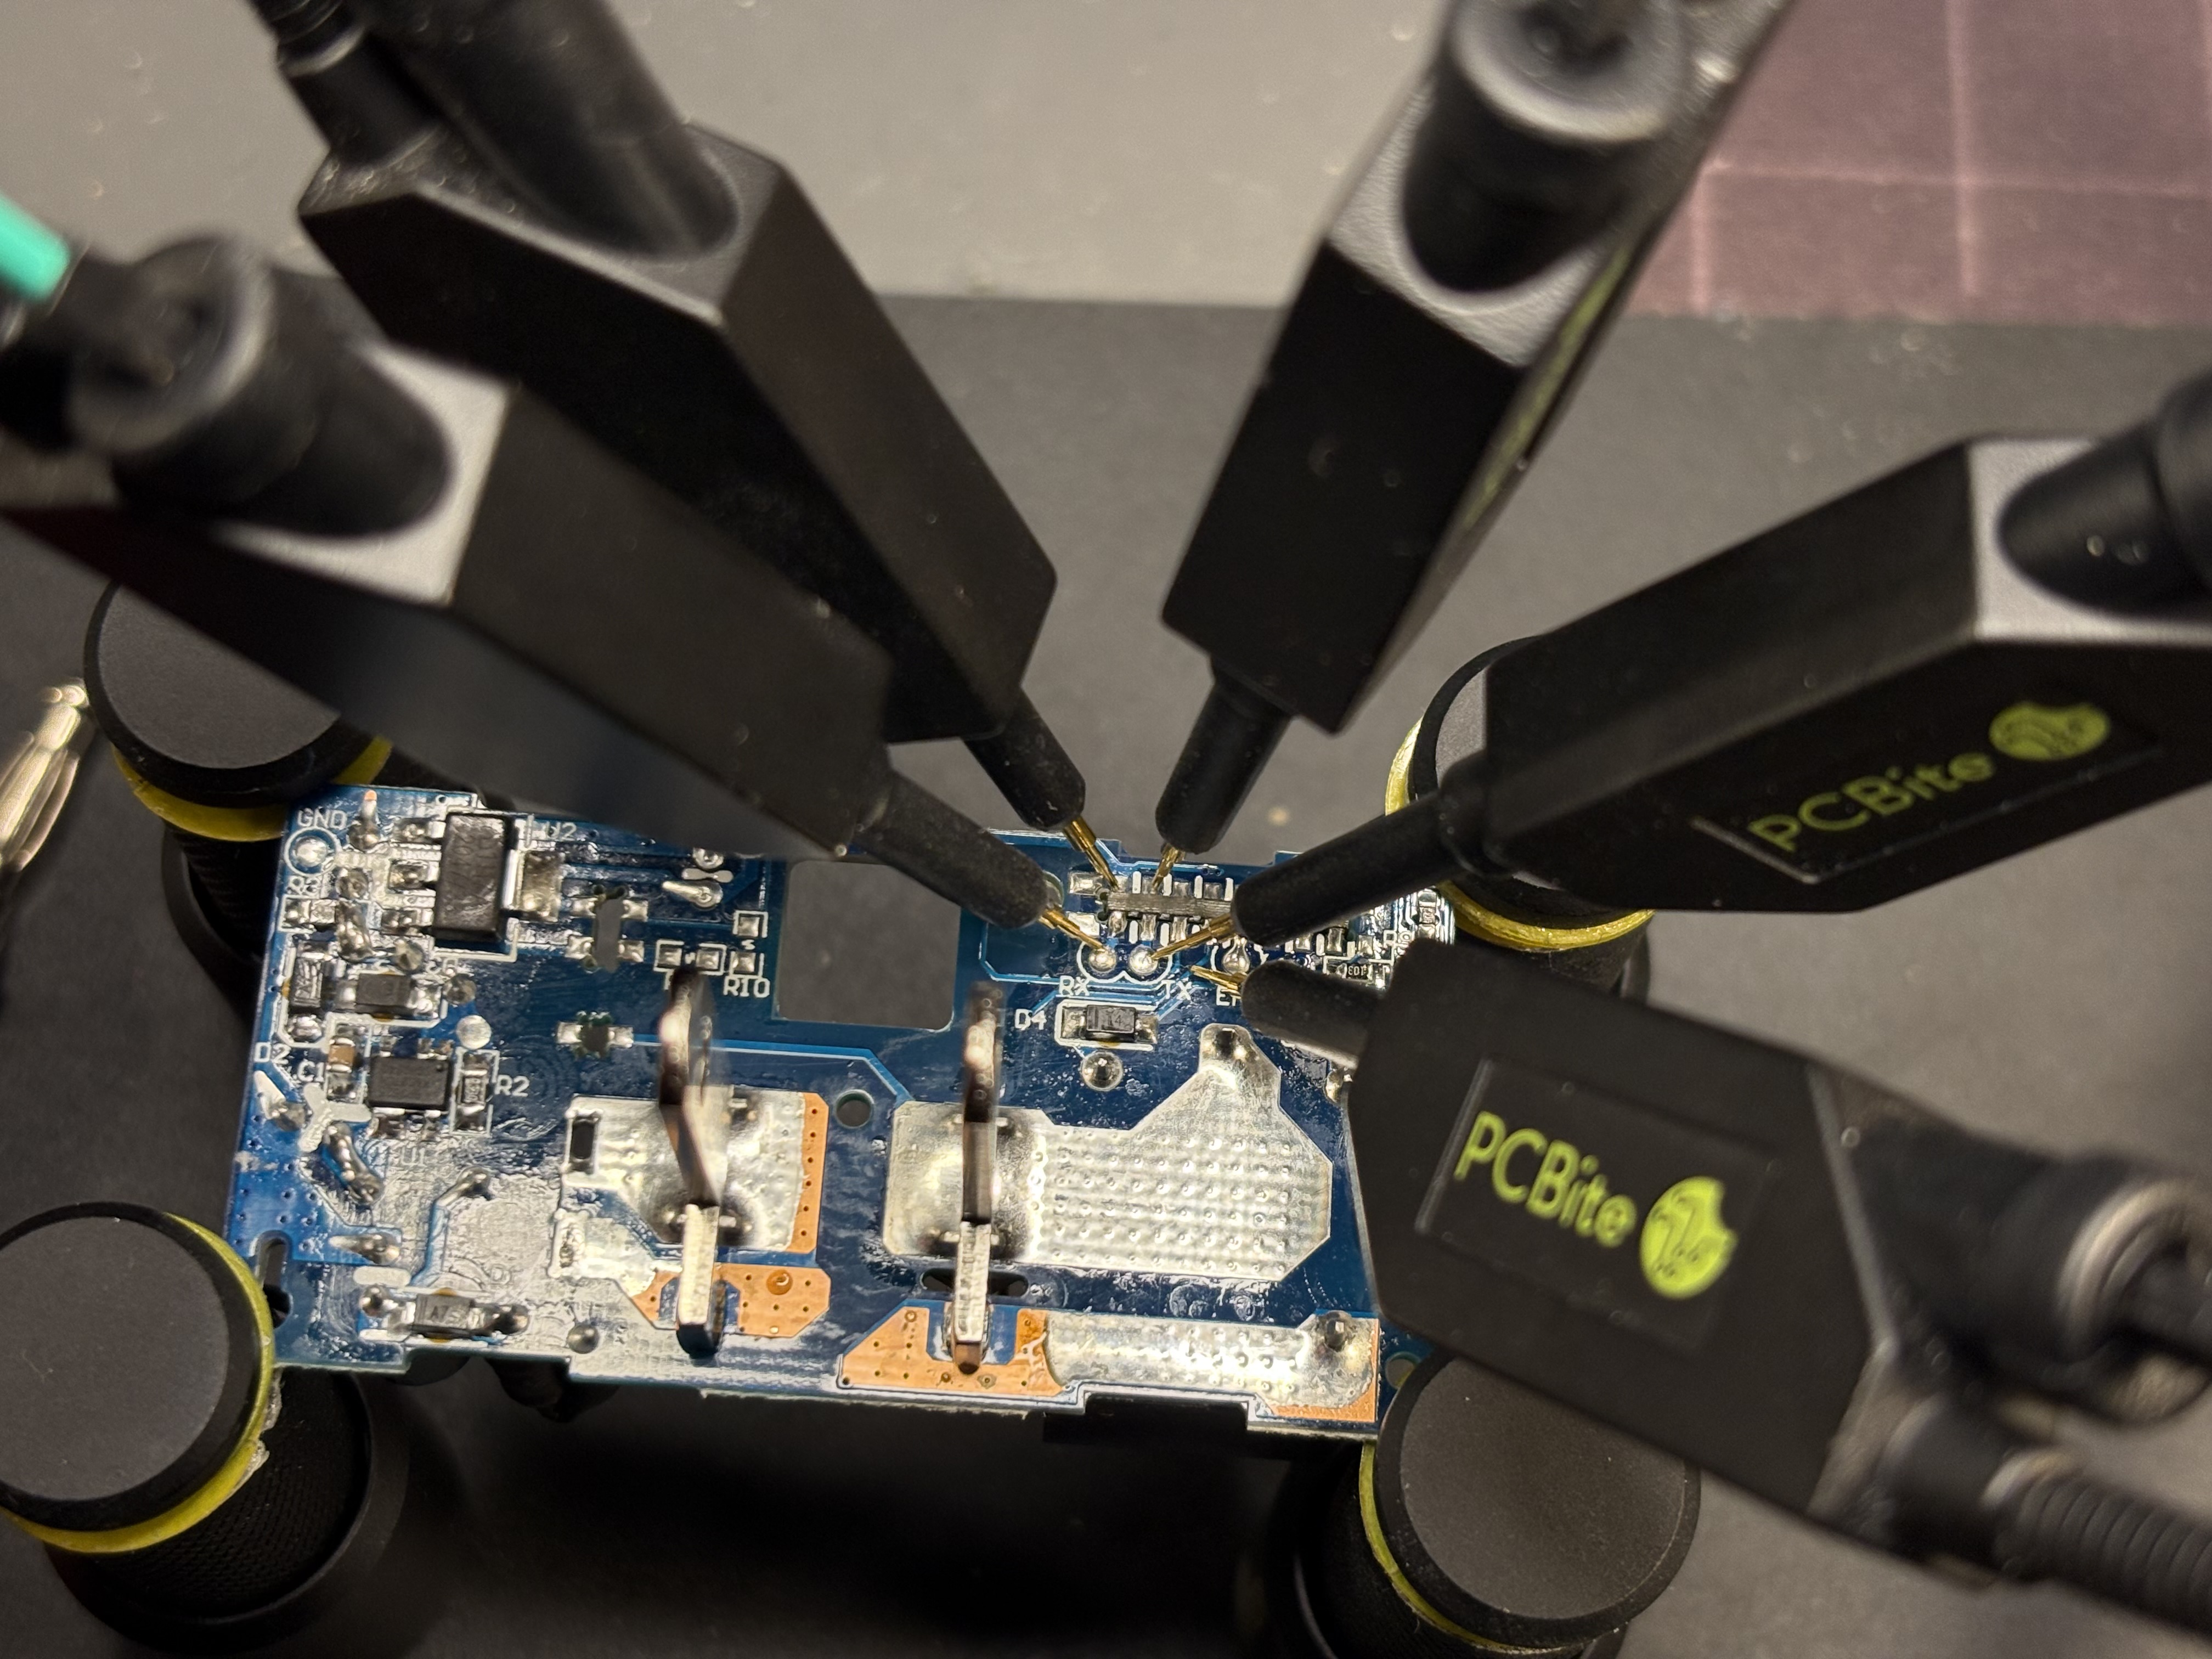
It is first required to put the microcontroller in download mode to enable flashing/dumping the device, which can be accomplished by powering up the device with TX0 connected to GND. This was easy work with the POGO pins on the PCBite, and after downloading ltchiptool in a virtual environment and connecting up the board (with TX0 pulled low for ~3 seconds to enable download mode) the current firmware was dumped:
python3 -m venv .
source bin/activate
pip install ltchiptool zeroconf
ltchiptool flash read realtek-ambz flash-backup.bin

With a serial connection up and running, it was time to create a new firmware to overwrite the OEM version.
ESPHome
I have an ESPHome dashboard already running on my homelab, so I adapted the configuration yaml on the Tuya smart plug writeup to my needs. The author of the Tuya plug blog found the relay and the button on the smart switch connected to GPIO_A15 & GPIO_A18 on their board, which corresponds to PA15 & PA18 in the ESPHome config. Through some trial and error I found that in this smart plug the button was wired to PA00 and the relay to PA22.
substitutions:
devicename: cesp1generic
friendly_name: cesp1 smart plug generic

esphome:
name: ${devicename}
friendly_name: ${friendly_name}

rtl87xx:
  board: generic-rtl8710bx-4mb-980k

# Enable logging
logger:
# Enable Home Assistant API
api:
  encryption:
    key: "CHANGE_ME"

ota:
  - platform: esphome
  - password: "CHANGE_ME"

wifi:
  ssid: !secret wifi_ssid
  password: !secret wifi_password
  use_address: 10.0.x.x
  # Enable fallback hotspot (captive portal) in case wifi connection fails
  ap:
    ssid: "Ce-Sp1-Generic Fallback Hotspot"
    password: "CHANGE_ME"
  captive_portal:

web_server:
  port: 80

status_led:
  pin:
    number: PA5
    inverted: true

text_sensor:
  - platform: libretiny
    version:
      name: LibreTiny Version

sensor:
  - platform: uptime
    name: Uptime
    filters:
      - lambda: return x / 60.0;
    unit_of_measurement: minutes

  - platform: wifi_signal
    name: Wifi Signal
    update_interval: 60s

binary_sensor:
  - platform: gpio
    device_class: power
    name: ${devicename} button
    pin:
      number: PA22
      mode: INPUT_PULLUP
      inverted: true
      on_press:
        - switch.toggle: relay

switch:
  - platform: gpio
  - id: relay
  - name: ${devicename} relay
  - pin: PA00
  - restore_mode: RESTORE_DEFAULT_OFF
Using this configuration as a template, I can simply duplicate the config in the ESPHome dashboard, and change around the secrets/variables for new smart plugs.
Building the FW and Flashing
- Create a “New Device”

- “Skip this step”
- “RTL87XX”:

- “Generic - RTL8710BX”:

- Skip
- Now merge the template config to the newly created device:

- “Save”
- “Install” > “Manual download”:

- The application will then compile the firmware.
- Download the “UF2 package”:

Flashing the new firmware is pretty much the same process as reading the firmware with a different command, so connect up the device to a UART connection, and run the following ltchiptool command (with TX0 pulled low for ~3 seconds to enable download mode):
ltchiptool flash write cesp1-farm-plug-03.uf2.bin

After flashing, and reassembling the device into it’s housing, and connecting it to mains, the device showed up my network and was accessible in the browser:
I then set a static lease in my router to align with the “use_address” I set in the ESPHome config (so the dashboard can find the device), and restarted the smart plug.
Home Assistant
While Home Assistant supports a vast number of less mainstream devices using custom integrations via HACS, thankfully ESPHome devices are supported out of the box via the ESPHome Integration.
To add the smart plug:
- Open Home Assistant and go to “Settings” -> “Devices and Services”:

- Click “Add Integration” (bottom right)
- Type “ESPHome” and click the item:

- Enter the ip/hostname and “Submit”
- Enter the encryption key (found in the ESPHome config), “Submit”
- Success:

Liberating Shitty Consumer Devices (and reducing e-waste)
While I was able to navigate this process I can see how my success might not be as easily repeatable without the tools and experience to adapt to different vendors, versions, and configurations. And though this post and the excellent write on the Tuya smart plug exist to document saving these particular devices from the landfill when their manufacturer eventually gives up on them, there are many such devices on the market that could be improved or given a new life with the help of Home Assistant and ESPHome.
With that in mind, I’ve setup a github repo under the project name “iot_reclaim” with the following goals:
- Discover vendor locked IOT devices at risk of vendor abandonment
- Document device internals, archive supporting/developer resources
- Document the process for overwriting the OEM firmware with open source alternatives that can be used with Home Assistant
In time I hope this repository can serve as a collaborative library to combat e-waste and improve consumer products locked down with low-effort vendor apps.